Wednesday, May 12, 2010

You can see the true before above in my blog title. Well the plants that the house came with were pretty random so we went to work trying to make the front look better. First we spent a couple days digging this area out and then Tyler built the awesome lattice for under the deck! I helped by painting it and helping put it together. Here it is all put in...


And then the planting began...Ty put the Rhododendrons in before we went to Vegas and when we got back we bought the rest of our plants and put them in. Then we put down weed barrier and bark...looks so much better!

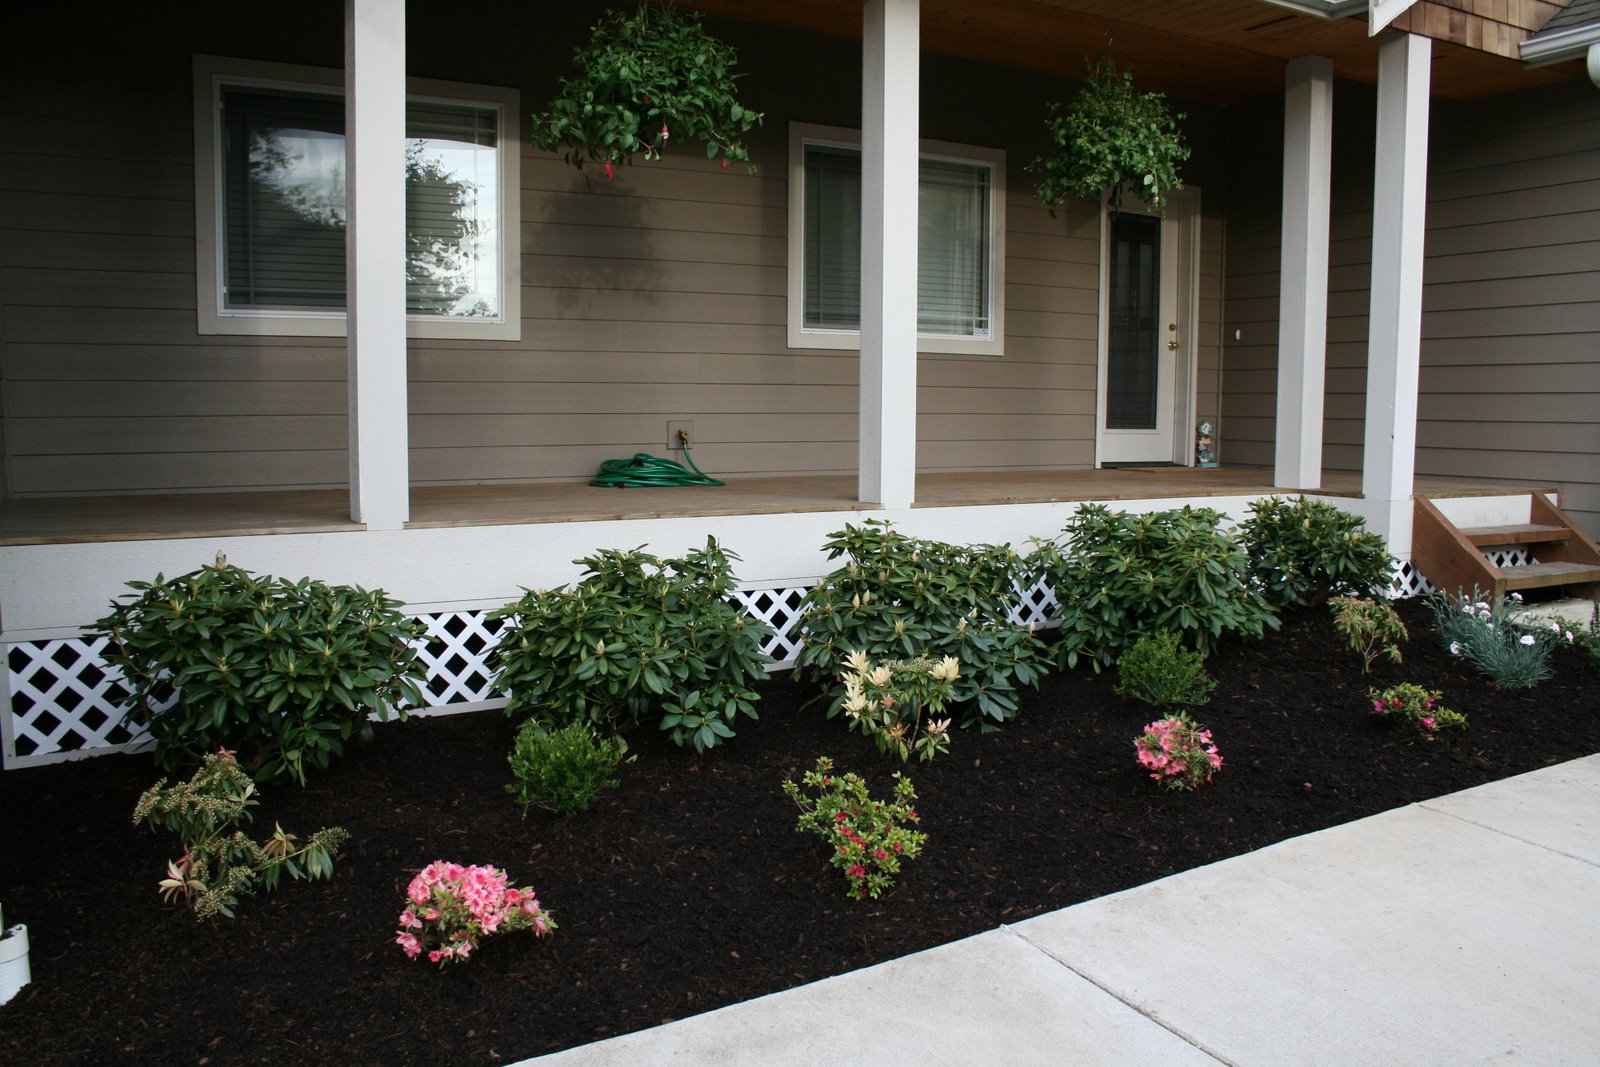
And the kids just loved playing outside so much and playing in the dirt. The hanging baskets were from Ty for Mother's day.

Next on the to do list is....The other parts of the front yard and putting in a deck railing on the porch.
Posted by Picasa

Thursday, February 4, 2010

Peg Board Storage in Garage

So we needed more shelf space so we decided to put up some peg board in the Garage to hang some larger items on the wall to help get organized. Tyler decided he wanted to go all the way to the ceiling...

Here's a peak of what it looks like mostly filled up...

P.S. If you are interested in putting these up keep in mind spacers can get spendy...we decided to make our own by buying a long plastic tubing marking it at the thickness we wanted and cutting with the saw. Very easy and a lot cheaper!

I loved this peg board so much for organizing that I decided to buy a smaller piece, paint it with some extra paint from Sam's room to use it in my craft room....Here is a sneak peak....I will update once we hang it:)
Posted by Picasa

Frosted windows...

So we have these little miniature windows above our bed in our bedroom. We weren't sure how to cover them, curtains someday but for now we thought the best thing to do would be to frost them with that frosting spray (not like the Christmas frost) it is more like etching but less permanent. You could scrape it off with some goo-be-gone. Here is the before...

And After...

Before up close...

After...
Posted by Picasa

Kiddie Table Redo

So we bought this table with 2 chairs at ikea...Unfinished with lots of coloring on it and stains...

So I decided to redo it...and this is what I came up with...

I sanded the top then stained it with leftover stain from the shelves, then painted the legs white. Lots of top finishing coats to keep it from wearing on top. I love how it turned out. I am planning on making little seat cushions for the chairs to add some color should be cute.

Posted by Picasa

Toy Room Bins

Toy Bins Finally!! So we bought this big storage unit last year at ikea. Had to wait to buy the bins once they came in, long time!! Then we filled them with different toys. I thought of labeling each so the kids could put their own toys away. So this is what I came up with. I took picts of all their toys (their actual toys that are in the bins) added text and printed them on transfer paper. Ironed onto white fabric and fused that to the bins! Love it!!


Posted by Picasa

The New Couch...

We really wanted a sectional for the family room. We found this beauty at a scratch and dent store. It comes apart in lots of places so we can arrange it however we want. This is what we came up with. Note: Those are the shelves in the background that we have been working on for months now...still need to stain the trim and put it up. We also plan on eventually refinishing the roll top desk!

Posted by Picasa

Thursday, October 15, 2009

Living Room Makeover

This is our living/dining room before(from standing in the kitchen)
After....(cream walls, red fireplace, recovered dining chairs, Vinyl on the wall (yes the only thing on the wall so far), oh and a ceiling fan
The vinyl, love my silhouette, this is the first time I cut vinyl with it and it went great!
The red fire place...took forever, and lots of coats(especially the trim) glad that's over!
Posted by Picasa